We are going to help you to export and import your WooCommerce products.
Step 1
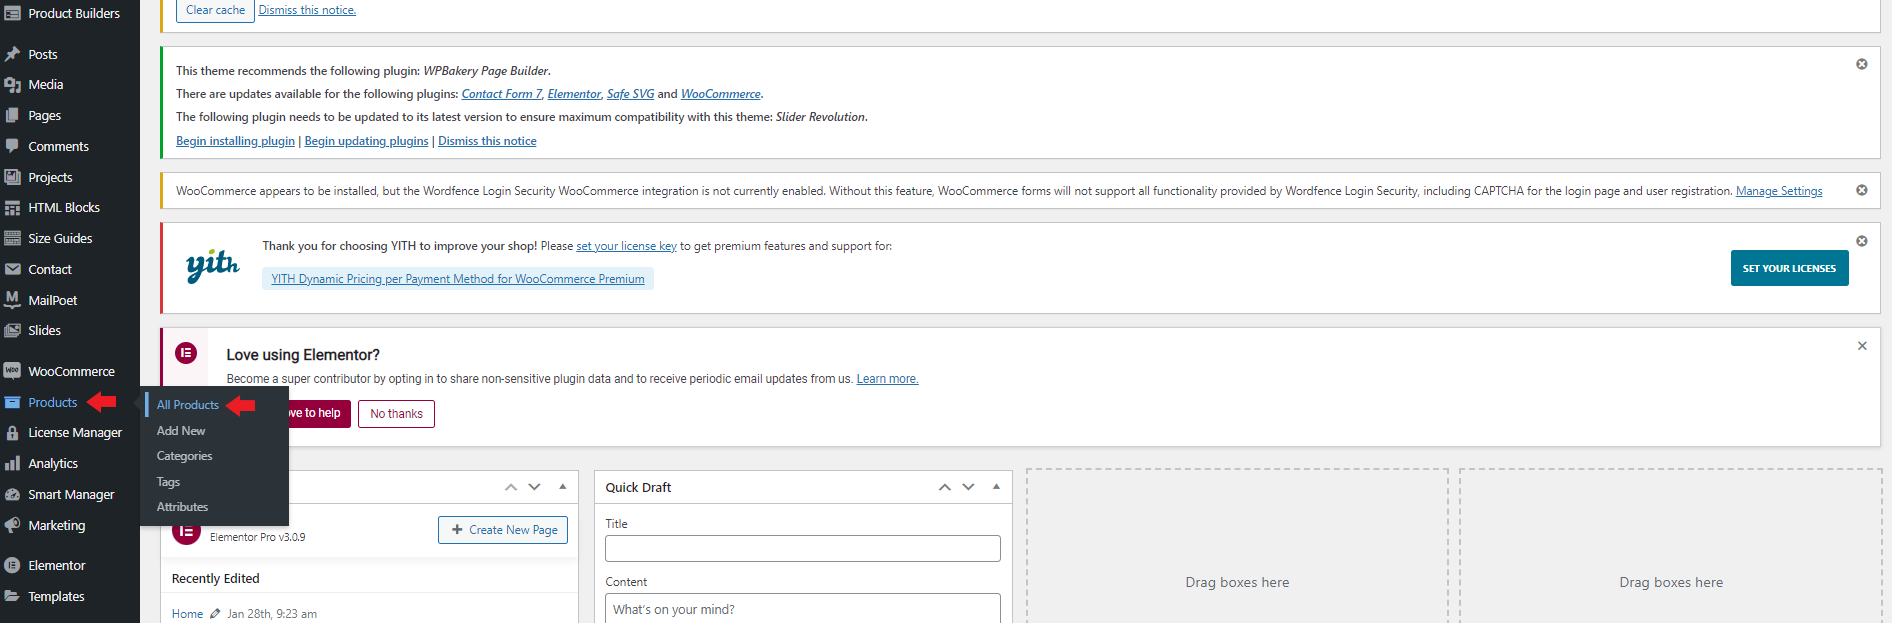
When you are logged into your WordPress site, locate the "Products" tab then hover over it and you will see a popup that says "All Products"
Proceed to click on "All Products"
Step 2
When you've clicked on "All Products" you will be prompted with this screen.
When you look at the right side of your screen, you will see "Screen Options", proceed to click on the arrow.

Step 3
When the "Screen Options" tab is open, locate the "Export" button and proceed to click on it.
You will then be prompted with a block.

Step 4
Now you will start the export of all your products. You can choose do you want the "Export custom meta" by clicking the check box.
When you are all done with that proceed to click on "Generate CSV"

Step 5
Now your products will begin to Export, all you have to do is get a cup of coffee and just wait for the export to finish.

Step 6
When your Export is finished you will see it will be downloaded as a Excel file at the bottom left of your screen.

Step 7
Now you need to go to Excel and open a new Excel blank document. We are almost there.

Step 8
When you have opened a new Excel document, proceed to find the "Data" button at the top of your editor bar.

Step 9
When you have clicked on "Data" you will be prompted with a new editor field.
Proceed to go to "Get Data" - "From File" - "From Text/CSV"
Just follow that path and click on "From Text/CSV"

Step 10
Now you just need to select the file you just Exported from your website, it should be in your downloads folder.

Step 11
You will be prompted with this screen, proceed to click on the load button.
Your spreadsheet will then be loaded.

You will be able to make your changes here on the Excel spreadsheet, when you are all done then proceed to our next step.

Step 12
When you are all done proceed to "Save As" your document.

Step 13
When you click "Save As" you will be prompted with how you want to save it.
You will need to save your document as a "CSV UTF-8"
When you have selected that option you can just save it.

Step 14
You need to navigate back to your website now and proceed to click on the "Import" button under "All Products"
It will be next to the "Export" button you were at in the beginning

Step 15
You will now be prompted with with this block. All you need to do is click on "Choose File" then you choose the Excel file you just saved.
When you selected your file proceed to click "Continue"

Step 16
You will then be prompted with this block, just proceed to click "Run the Importer"

Step 17
The last step, all you need to do now is wait for your import to finish and then you are all done.


